Connecting to a Raspberry Pi
Prerequisities
- Raspberry Pi
- SD Card with Raspberry Pi Image Installed (see below for instructions)
- USB To Serial Cable
- Computer (PC/Mac/Linux OK, driver installation required)
Installing Raspberry Pi OS to SD card
If you do not already have an SD card with a Raspberry Pi image on it, you will need to follow these instructions. The SD cards that come with the class materials are preloaded, so you can skip this section.
- Download an image, such as one from the Raspberry Pi downloads page.
Copy image to card. Do NOT copy & paste, as it will not work! You must use a "helper" application such as Win32DiskImager, PiFiller, or dd.
- For Windows:
- Insert your SD Card into your computer.
- Download Win32DiskImager from http://sourceforge.net/projects/win32diskimager/
- Once the download is complete, install Win32DiskImager using the downloaded file.
- Start Win32DiskImager from the start menu.
- Click the folder icon to select the Raspberry Pi image.
- Click the "Device" dropdown box to select the Raspberry Pi SD card. You can check "My Computer" to find the correct drive letter.
- Click the "Write" button and wait for the process to complete

- For OS X:
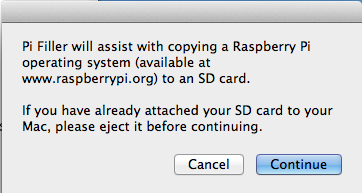
- Download PiFiller from http://ivanx.com/raspberrypi/
- Make sure your SD card is not inserted in your computer. If needed, eject and remove the SD card until instructed to insert it by Pi Filler.
- Click "Continue"
- Select your downloaded Raspberry Pi Image
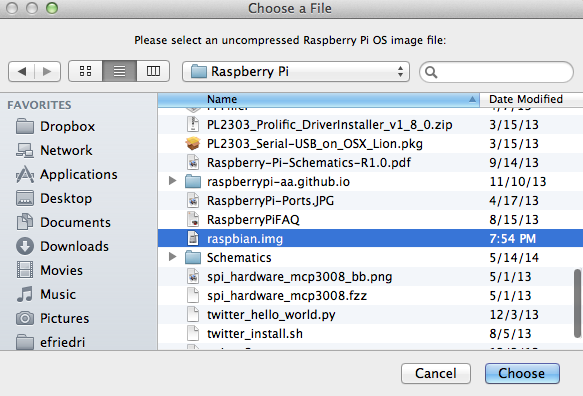
- Insert your SD card and click "Continue"
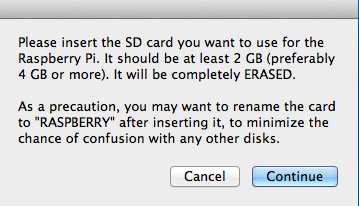
- Wait for your SD card to be found and then click "OK" when prompted.
- Wait for the download to complete. This might take as long as 20-25 minutes to finish.
- For Linux
- See instructions from eLinux.org
- For Windows:
Initial Setup
- Install driver:
Please install the following driver (and software) as appropriate for your operating system:
- Windows 8 : NOT SUPPORTED.
- Windows XP/Windows 7:
- OS X Lion (10.7+):
- OS X (10.6 and below):
- Insert SD card into Raspberry Pi. The label of the card should be facing out, so you can read the words (away from the Raspberry Pi).
- Connect the Ethernet cable from the Raspberry Pi to the network switch.
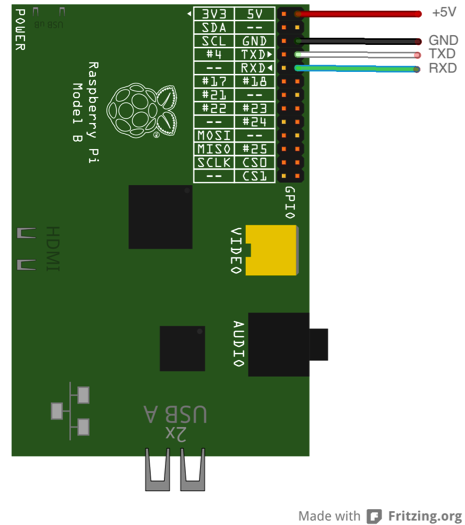
- Connect the USB Serial Cable to the Raspberry Pi Port1 as follows.
- P01-1 is the pin closest to the Micro-USB Power connector.
- P01-2 is the pin adjacent to the outside of the board.
- GPIO P01-2 -> Red (+5V)
- GPIO P01-6 -> Black (0V)
- GPIO P01-8 -> White (RX)
- GPIO P01-10 -> Green (TX)
- Plug USB connector into your computer's USB port
- Connect to the Raspberry Pi over the serial port
- Linux: At the command line run
sudo screen /dev/ttyUSB0 115200. Note: If /dev/ttyUSB0 does not work, rundmesgto check where the USB adapter was detected. - OS X: As the command line, run:
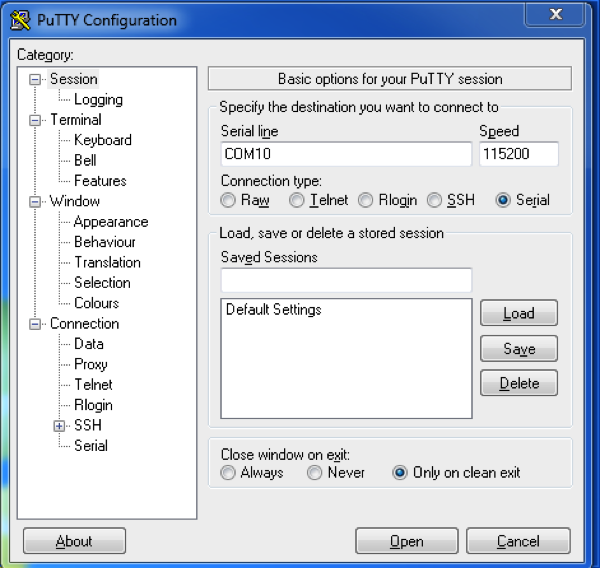
sudo screen /dev/cu.PL2303-000012FD 115200. The USB to Serial device will likely be detected at a different address, so try using tab completion (hit thekey) after entering /dev/cu.PL2303 - Windows: First, determine the COM Port number. This may be displayed as a system notification when you connect the USB device.
- Otherwise, you will need to check Windows Device Manager. To access Device Manager, click on the Start Orb and enter “Device Manager” in the Search box. Then scroll down to Ports and note the COM port associated with the USB to Serial Adapter.
- Open PuTTy and enter the settings as below, using the correct COM Port you determined before.
- Click Open to Connect
- Linux: At the command line run
- You should see a text scrolling by while the Rasperry Pi boots up. The login prompt may take several minutes to appear. If you miss the boot sequence, you may need to hit the Enter key several times for the login prompt to appear.
Login with:
        Username: pi
        Password: raspberry
You may change the password now if you wish to do so, by runningpasswd - Set the hostname to something unique (some variation on your name or email works well).
- Run
sudo nano /etc/hostnameChange “raspberrypi” to whatever you want your hostname to be. - Run
sudo nano /etc/hostsChange the line from:127.0.0.1 raspberrypi
to:127.0.0.1 whatever
- Run
- Determine the IP Address of your Raspberry Pi. You’ll use it later to connect over ssh or web browser.
Run
ip addr show eth0and note the IP address shown to the right of the word “inet”:2: eth0:
In this example the IP Address is 192.168.1.102
Connecting via SSH
1) At an OS X or Linux command line, run: ssh <ip address from step 9> -l pi
2) On Windows, start PuTTY and set the options as follows (replacing with raspberrypin.local or your IP address):
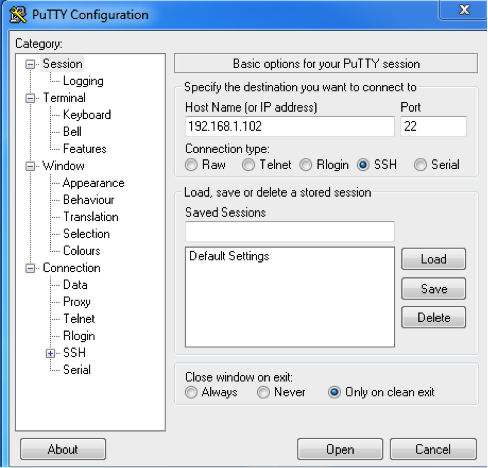
3) Click Open to connect
Connecting via VNC (optional)
1) Install VNC server by running:
sudo apt-get install tightvncserver
2) Start a VNC Server by running:
vncserver :1 –geometry 1920x1080 –depth 24
3) Use VNC Viewer, TightVNC, Chicken of the VNC to connect to your Raspberry Pi using the IP address above and port 5900
Appendix A: Wi-Fi Setup
Requires USB Wifi dongle
1) Open a text editor by running:
sudo nano /etc/network/interfaces
2) Make the contents of the file as follows:
 3) Save and exit the file by hitting Control-X, then Yes
4) Run:
3) Save and exit the file by hitting Control-X, then Yes
4) Run:
sudo ifdown wlan0 && sudo ifup wlan0
5) If all goes well, you can obtain the ip address by running:
ip addr show wlan0